Copper wire for jewelry making is one of the most enduring crafts, enjoyed by many throughout history. There is no doubt that copper wire is one of the most versatile and accessible materials that can be used in jewelry making. Copper wire is loved by many artisans for its beautiful color, malleability, and affordability. Let’s explore the essential tips and techniques for getting started in jewelry making with copper wire in this blog post.
Why Choose Copper Wire for Jewelry Making?
Copper wire is a fantastic choice for jewelry making for several reasons:
- Affordability: Copper is less expensive than precious metals like silver or gold, making it an excellent choice for beginners and hobbyists.
- Workability: Copper wire is easy to manipulate, allowing for intricate designs without the need for special tools.
- Aesthetic Appeal: The warm, reddish hue of copper adds a unique and beautiful element to jewelry pieces.
- Versatility: Copper wire comes in various gauges and types, offering a wide range of possibilities for different jewelry styles and techniques.
Essential Tools and Materials
Before diving into the techniques, it’s crucial to gather the necessary tools and materials. Here’s a list of essentials for working with copper wire for jewelry making:
Tools
- Wire Cutters: For cutting the wire to desired lengths.
- Round Nose Pliers: Ideal for creating loops and curves.
- Chain Nose Pliers: Useful for holding, bending, and straightening wire.
- Flat Nose Pliers: Great for making sharp bends and flattening wire.
- Mandrels: Cylindrical tools used to shape wire into consistent sizes, especially for rings and bracelets.
- Files: For smoothing sharp edges on cut wire.
- Ruler or Caliper: For precise measurements.
- Hammer and Anvil: Used for texturing and hardening the wire.
Materials
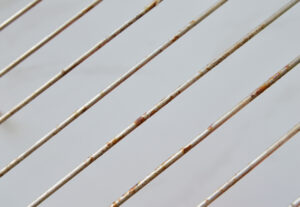
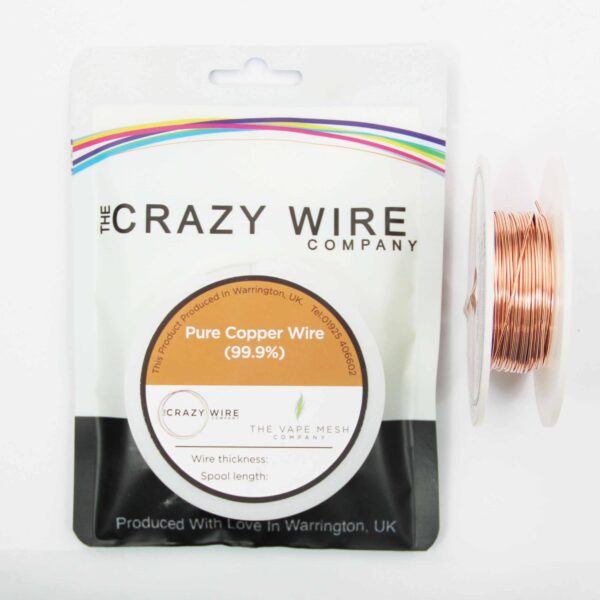
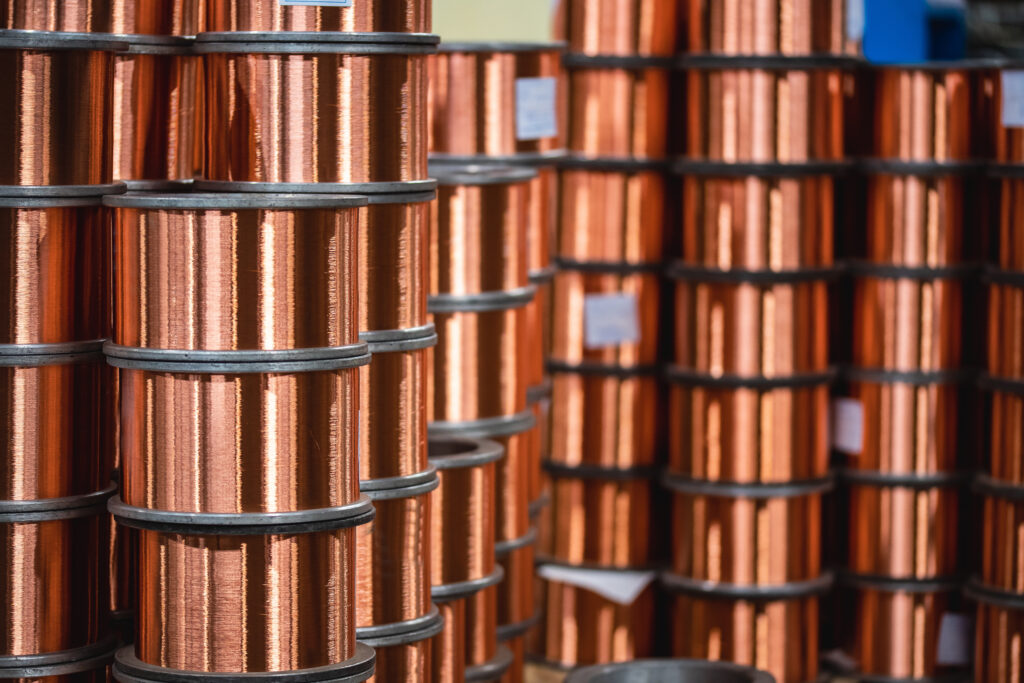
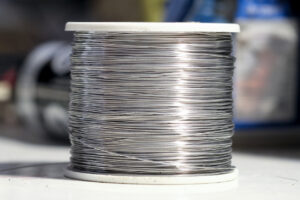
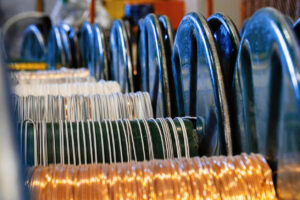
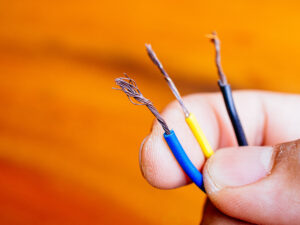
- Copper Wire: Available in different gauges (thicknesses). Common gauges for jewelry making range from 18 to 26.
- Beads and Stones: To add decorative elements to your designs.
- Findings: These include earring hooks, clasps, jump rings, and other components necessary to finish your jewelry pieces.
- Patinas and Sealants: Optional but useful for adding color and protecting your copper creations.
Understanding Wire Gauges
The gauge of the wire refers to its thickness, which is crucial for determining its suitability for different types of jewelry. Here’s a quick guide:
- 18-20 Gauge: Thick and sturdy, suitable for making rings, bangles, and structural elements.
- 21-24 Gauge: Medium thickness, perfect for making links, hooks, and intricate designs.
- 25-28 Gauge: Thin and flexible, ideal for wrapping, weaving, and detailed work.
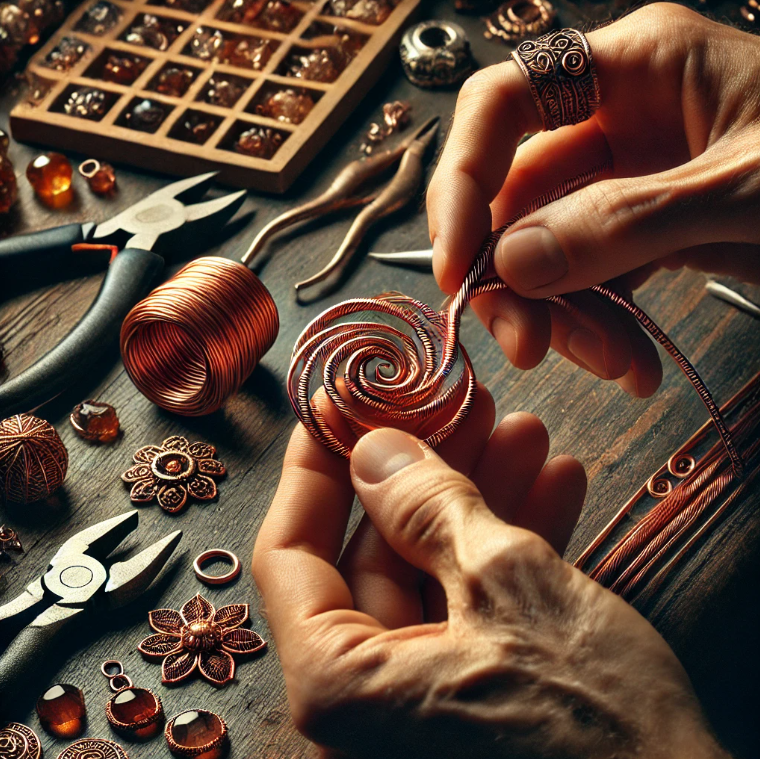
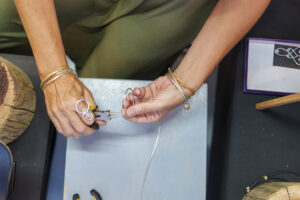
Basic Techniques for Copper Wire Jewelry Making
Making Simple Loops
Simple loops are foundational in wire jewelry making, used in creating earrings, pendants, and connectors. Here’s how to make them:
- Cut a piece of wire to your desired length.
- Using round nose pliers, grip the end of the wire and twist it around the plier to form a loop.
- Ensure the loop is closed by gently squeezing it with chain nose pliers.
Wire Wrapping
Wire wrapping is a versatile technique used to secure stones, create decorative elements, and add complexity to your designs. Here’s a basic wire-wrapping method:
- Cut a piece of wire longer than your stone or bead.
- Place the stone in the middle of the wire.
- Wrap one end of the wire around the stone, securing it in place.
- Continue wrapping the wire in your desired pattern, ensuring the stone is firmly held.
- Finish by tucking the wire ends neatly.
Making Jump Rings
Jump rings are essential components used to connect different parts of your jewelry. Here’s a simple way to make them:
- Wrap the wire around a mandrel or cylindrical object to form a coil.
- Slide the coil off the mandrel.
- Use wire cutters to cut individual rings from the coil.
Creating Spirals
Spirals add a decorative touch to jewelry pieces. Here’s a step-by-step guide:
- Cut a piece of wire to your desired length.
- Using round nose pliers, grip the end of the wire and begin to twist it into a spiral.
- Continue twisting until you reach your desired size.
- Flatten the spiral slightly with flat nose pliers for a neat finish.
Advanced Techniques
Wire Weaving
Wire weaving involves intertwining thinner gauges of wire to create intricate patterns. This technique requires patience but yields stunning results. Here’s a basic weave to get you started:
- Cut three pieces of thicker gauge wire to your desired length.
- Secure the wires together at one end using a thinner gauge wire.
- Begin weaving the thin wire over and under the thicker wires in a pattern.
- Continue weaving until you reach the desired length.
- Secure the end of the weave and trim any excess wire.
Making Coiled Beads
Coiled beads are a decorative element that can be added to various jewelry pieces. Here’s how to make them:
- Cut a piece of wire and wrap it tightly around a mandrel or cylindrical object.
- Slide the coil off the mandrel.
- Cut the coil into individual beads of your desired length.
- Use the beads to add texture and interest to your designs.
Creating Prong Settings
Prong settings are used to hold gemstones in place. Here’s a simple method:
- Cut a piece of wire and bend it into a U-shape.
- Create small loops at the ends of the U-shape to form the prongs.
- Place the gemstone between the prongs and adjust the loops to secure it.
- Wrap the ends of the wire around the base of the setting to finish.
Finishing and Polishing
Once your jewelry piece is complete, it’s essential to finish and polish it to enhance its appearance and durability.
Filing and Smoothing
- Use a file to smooth any rough or sharp edges on your wire.
- Gently sand the wire with fine-grit sandpaper for a polished finish.
Patinas
Patinas can add color and depth to your copper wire jewelry. Liver of sulfur is a popular choice for creating an antiqued look. Here’s how to apply it:
- Mix liver of sulfur with water according to the instructions.
- Dip your jewelry piece into the solution for a few seconds.
- Rinse and dry the piece.
- Use a polishing cloth to highlight the high points of the design.
Sealing
To protect your copper jewelry from tarnishing, apply a sealant such as clear nail polish, jewelry lacquer, or a specialized metal sealant.
Tips for Beginners
Start Simple
As a beginner, it’s essential to start with simple projects to build your confidence and skills. Begin with basic techniques like making loops, wrapping wire, and creating jump rings before moving on to more complex designs.
Practice Makes Perfect
Like any craft, practice is crucial in mastering wire jewelry making. Set aside regular time to practice different techniques and experiment with new designs.
Learn from Others
Join online forums, watch tutorial videos, and participate in jewelry-making workshops to learn from experienced artisans. Sharing tips and techniques with others can accelerate your learning process.
Keep Organized
Maintain an organized workspace to keep your tools and materials easily accessible. This will save you time and make the crafting process more enjoyable.
Experiment with Different Gauges
Don’t be afraid to experiment with different wire gauges to see how they affect your designs. Mixing thick and thin wires can create interesting textures and patterns.
Copper wire for jewelry making is an exciting and rewarding craft that offers endless possibilities for creativity. By using the right tools, materials, and techniques, you can create stunning pieces of jewelry that reflect your individual style. Start with the basics, practice regularly, and seek inspiration and knowledge from the jewelry-making community.
With these tips and techniques, you can easily master the art of copper wire jewelry making, creating beautiful and unique pieces to wear and share with others. So grab your copper wire, gather your tools, and let your creativity shine! Happy crafting!
Thank you for taking the time to read our blog. We hope that the information above helped you in the search for the right product for your project.
If you are interesting in learning more about wires, check out our blog about Tinned Copper Wire or take a look at our range of Stainless Steel Wires.

Nichrome Wire Safety: Top Tips for Working Safely
Best Wire for Electronics Projects
Is Ni80 Wire Suitable for DIY Heating Elements
Wire Grades Explained

How Wire Diameter Affects Strength and Flexibility
How to Cut and Shape Wire for Custom Applications

Can Wire Be Used in 3D Printing?
How Wire Composition Affects Conductivity