
When it comes to electronic projects, one often overlooked but crucial aspect is the joining of ribbon wire. Whether you are working on a simple DIY project or a complex industrial application, the method you use to join ribbon wire can significantly impact the reliability and performance of your final product. This blog post will explore the best methods to join ribbon wire, delving into various techniques and tools to help you make an informed decision.
Understanding Ribbon Wire
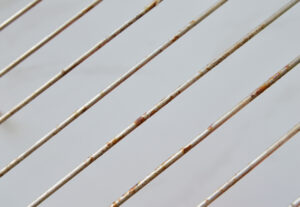
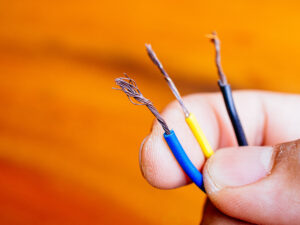
Before we dive into the methods of joining ribbon wire, it’s essential to understand what ribbon wire is and why it’s used. Ribbon wire, also known as flat cable or multi-wire planar cable, is a type of cable that consists of multiple conducting wires arranged parallel to each other in a flat, ribbon-like structure. This configuration allows for easy and organized routing of multiple conductors, making ribbon wire an excellent choice for compact electronic assemblies, computer connections, and various industrial applications.
The primary advantages of ribbon wire include:
- Compact Design: Its flat structure allows for efficient use of space.
- Ease of Organization: The parallel arrangement of conductors simplifies cable management.
- Improved Signal Integrity: Reduced crosstalk and electromagnetic interference (EMI) due to the uniform spacing of conductors.
Methods to Join Ribbon Wire
Now, let’s explore the different methods to join ribbon wire, each with its own set of advantages and considerations. The best method for your specific application will depend on factors such as the type of connection required, the environment in which the connection will be used, and the tools and materials available.
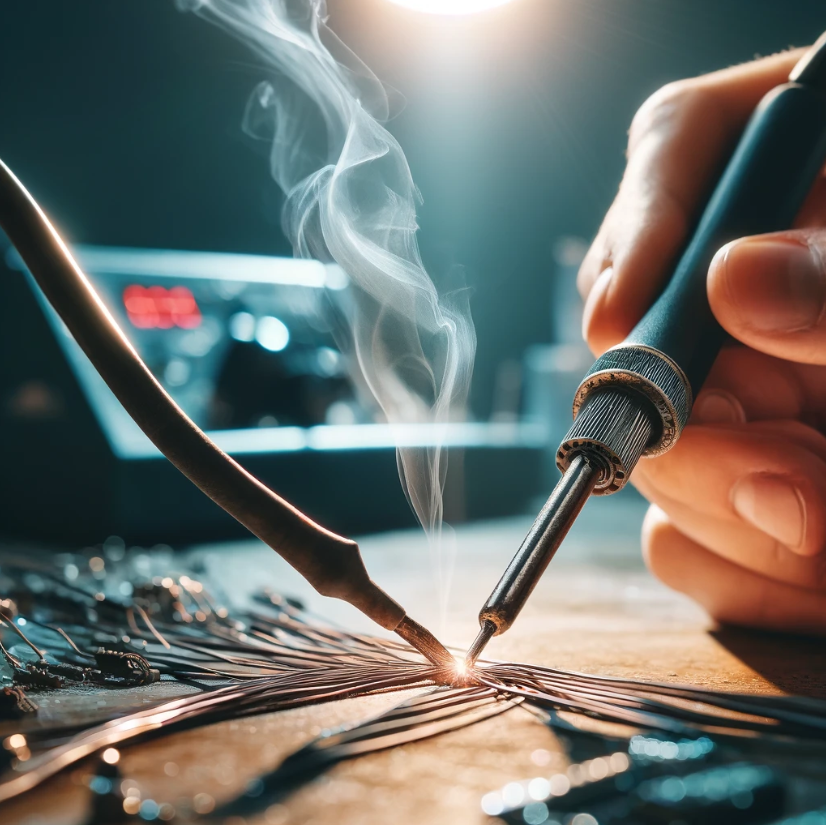
1. Soldering
Soldering is one of the most common and reliable methods for joining ribbon wire. It involves using a soldering iron to melt solder (a fusible metal alloy) and create a permanent connection between the wires.
Advantages:
- Strong, Durable Connections: Properly executed solder joints are mechanically robust and offer excellent electrical conductivity.
- Versatile: Suitable for both small and large-scale projects.
- Widely Used: Standard practice in the electronics industry, making it a well-understood method.
Disadvantages:
- Requires Skill: Effective soldering requires a certain level of expertise and practice.
- Heat Sensitivity: Excessive heat can damage the wire insulation or surrounding components.
- Time-Consuming: Soldering multiple connections can be time-intensive.
How to Solder Ribbon Wire:
- Prepare the Wires: Strip the insulation from the ends of the ribbon wire to expose the conductors.
- Tin the Wires: Apply a small amount of solder to the exposed conductors to tin them, ensuring better solder flow during the actual connection.
- Join the Wires: Align the tinned ends of the wires and apply the soldering iron to melt the solder, joining the wires together.
- Inspect the Joint: Ensure a clean, shiny solder joint without any cold solder joints (dull and brittle).
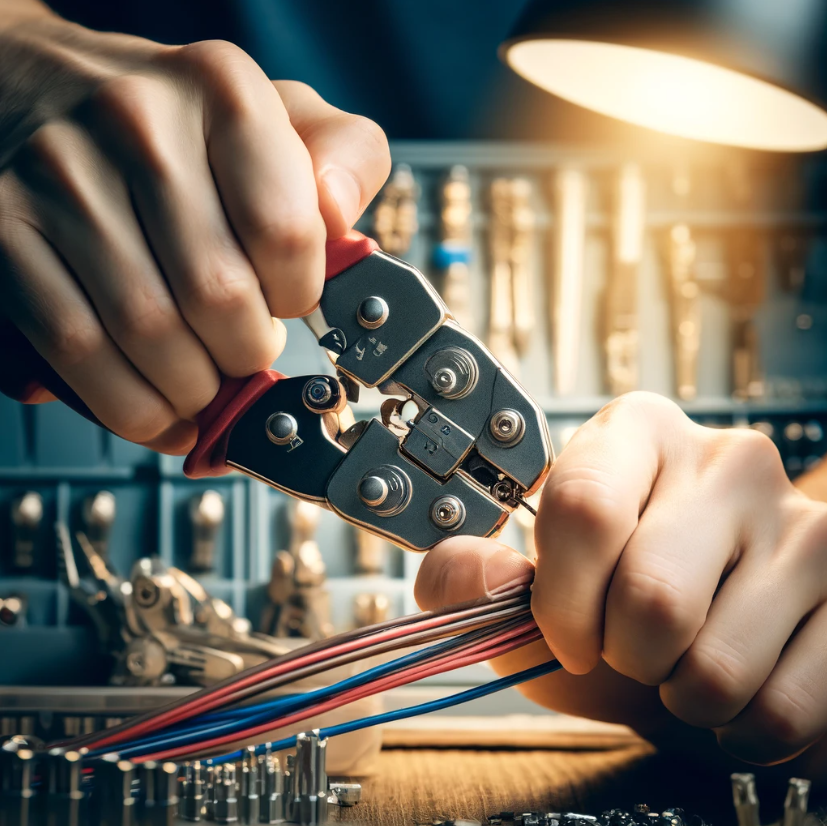
2. Crimping
Crimping involves using a crimping tool to compress a metal connector around the wires, creating a secure mechanical and electrical connection. This method is commonly used in automotive, aerospace, and telecommunications applications.
Advantages:
- Fast and Efficient: Quick to execute, making it ideal for large-scale projects.
- No Heat Involved: Eliminates the risk of heat damage to wires and components.
- Reliable Connections: When done correctly, crimped connections are strong and durable.
Disadvantages:
- Tool Dependent: Requires specific crimping tools and connectors.
- Skill Required: Proper crimping technique is essential for reliable connections.
- Limited Reusability: Crimped connectors are generally not reusable.
How to Crimp Ribbon Wire:
- Select the Connector: Choose a crimp connector appropriate for the ribbon wire gauge and application.
- Strip the Wires: Strip the insulation from the ends of the ribbon wire to expose the conductors.
- Insert the Wires: Place the exposed wires into the crimp connector.
- Crimp the Connector: Use a crimping tool to compress the connector around the wires, ensuring a secure connection.
- Inspect the Connection: Check the crimped connection for any loose wires or incomplete crimps.
3. IDC (Insulation Displacement Connectors)
Insulation Displacement Connectors (IDC) provide a quick and reliable method for joining ribbon wire without the need for stripping insulation. The IDC method involves pressing the ribbon wire into a connector with sharp metal blades that cut through the insulation and make contact with the conductors.
Advantages:
- No Stripping Required: Eliminates the need to strip insulation, saving time and reducing the risk of damaging the wires.
- Fast and Simple: Quick to execute, ideal for high-volume production.
- Reliable: Provides a consistent and secure connection.
Disadvantages:
- Specialized Connectors: Requires specific IDC connectors.
- Tool Requirement: Often requires an IDC tool for proper installation.
- Single-Use: IDC connections are typically not reusable.
How to Use IDC for Ribbon Wire:
- Select the IDC Connector: Choose an IDC connector suitable for the ribbon wire and application.
- Align the Wire: Place the ribbon wire into the IDC connector, ensuring proper alignment.
- Press the Wire: Use an IDC tool to press the wire into the connector, allowing the blades to pierce the insulation and make contact with the conductors.
- Inspect the Connection: Ensure all wires are securely seated in the connector.
4. Wire Wrapping
Wire wrapping involves wrapping a wire around a terminal post to create a secure connection. This method is less common but can be useful for prototyping and low-current applications.
Advantages:
- No Soldering or Crimping: Eliminates the need for heat or compression tools.
- Reversible: Connections can be undone and redone, making it ideal for prototyping.
- Simple Tools: Requires minimal tools (usually a wire wrapping tool).
Disadvantages:
- Limited Current Capacity: Not suitable for high-current applications.
- Less Durable: Connections may not be as robust as soldered or crimped joints.
- Time-Consuming: Manually wrapping wires can be slow.
How to Wire Wrap Ribbon Wire:
- Strip the Wires: Strip the insulation from the ends of the ribbon wire.
- Wrap the Wire: Use a wire wrapping tool to wrap the exposed wire around a terminal post.
- Secure the Wrap: Ensure the wire is tightly wrapped and makes good contact with the terminal.
- Inspect the Connection: Check for any loose wraps or poor contacts.
5. Mechanical Connectors
Mechanical connectors involve using screws, clamps, or other mechanical means to join wires. This method is commonly used in electrical panels and junction boxes.
Advantages:
- Easy to Use: Requires minimal tools and expertise.
- Reversible: Connections can be easily undone and redone.
- No Heat or Compression: Eliminates the risk of heat damage or the need for crimping tools.
Disadvantages:
- Bulkier: Mechanical connectors can be larger and less suitable for compact applications.
- Limited Durability: May not be as durable as soldered or crimped connections.
- Potential for Loose Connections: Screws and clamps can loosen over time, requiring periodic maintenance.
How to Use Mechanical Connectors for Ribbon Wire:
- Select the Connector: Choose a mechanical connector appropriate for the ribbon wire and application.
- Strip the Wires: Strip the insulation from the ends of the ribbon wire.
- Insert the Wires: Place the exposed wires into the mechanical connector.
- Secure the Connection: Tighten the screws or clamps to secure the wires.
- Inspect the Connection: Check for any loose wires or poor connections.
6. Heat Shrink and Solder Sleeves
Heat shrink and solder sleeves combine soldering and insulation in a single step. These sleeves contain a ring of solder and a heat-shrinkable tube that, when heated, melt the solder and shrink the tubing to form a secure and insulated connection.
Advantages:
- Integrated Solution: Combines soldering and insulation in one step.
- Simple and Efficient: Easy to use and requires minimal tools.
- Reliable: Provides a strong, insulated connection.
Disadvantages:
- Tool Dependent: Requires a heat source, such as a heat gun.
- Single-Use: Sleeves are not reusable.
- Heat Sensitivity: Excessive heat can damage wires or components.
How to Use Heat Shrink and Solder Sleeves for Ribbon Wire:
- Select the Sleeve: Choose a heat shrink and solder sleeve appropriate for the ribbon wire gauge.
- Insert the Wires: Place the stripped ends of the ribbon wire into the sleeve, ensuring they overlap at the solder ring.
- Apply Heat: Use a heat gun to heat the sleeve, melting the solder and shrinking the tubing.
- Inspect the Connection: Ensure a secure and insulated connection without any exposed wires.
Choosing the best method to join ribbon wire depends on various factors, including the specific application, tools available, and desired durability of the connection. Each method has its advantages and disadvantages, so it’s essential to consider your project requirements carefully.
Soldering offers strong, durable connections and is highly versatile, but requires skill and can be time-consuming. It’s an excellent choice for projects where reliability is critical and the user has the necessary expertise.
Crimping is fast and efficient, making it ideal for large-scale projects, though it requires specific tools and connectors. This method is best suited for situations where speed and repeatability are essential.
IDC (Insulation Displacement Connectors) provide quick and reliable connections without the need for stripping insulation, but they require specialized connectors and tools. IDC is particularly useful in high-volume production environments where time efficiency is a priority.
Wire Wrapping is beneficial for prototyping and low-current applications, as it eliminates the need for soldering or crimping. However, it is less durable and more time-consuming, making it less suitable for permanent installations.
Mechanical Connectors are easy to use and reversible, but can be bulky and may require maintenance over time. They are ideal for applications where connections might need to be frequently changed or adjusted.
Heat Shrink and Solder Sleeves combine soldering and insulation in one step, offering a simple and reliable solution. Although they are single-use and sensitive to heat, they are an efficient way to create secure and insulated connections quickly.
Ultimately, the best method for joining ribbon wire will depend on your specific needs and constraints. For high-reliability and permanent connections, soldering and crimping are excellent choices. In terms of the rapid assembly in production environments, IDC connectors can save time and effort. For flexible and reversible connections during prototyping, wire wrapping and mechanical connectors may be more suitable.
By understanding the strengths and weaknesses of each method, you can select the most appropriate technique for your project, ensuring a reliable and efficient connection every time. Whether you’re working on a small DIY project or a complex industrial application, mastering the art of joining ribbon wire is a crucial skill that will enhance the quality and performance of your electronic assemblies.
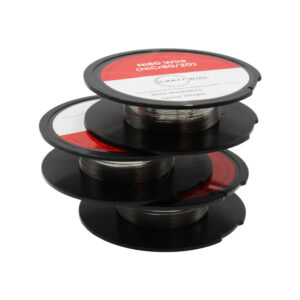
We offer also a massive range of stainless steel wire and nichrome wire through our store. Choose the wire that you want to work with and we’ll get spooling.
If you’re interesting in learning more about wire, check out our other blog on Flat Wire vs Ribbon Wire.
We are also proud to supply this product on our highly popular eBay store, check us out there too.
Thank you for checking out our site.

Nichrome Wire Safety: Top Tips for Working Safely
Best Wire for Electronics Projects
Is Ni80 Wire Suitable for DIY Heating Elements

Wire Grades Explained

How Wire Diameter Affects Strength and Flexibility

How to Cut and Shape Wire for Custom Applications

Can Wire Be Used in 3D Printing?
How Wire Composition Affects Conductivity