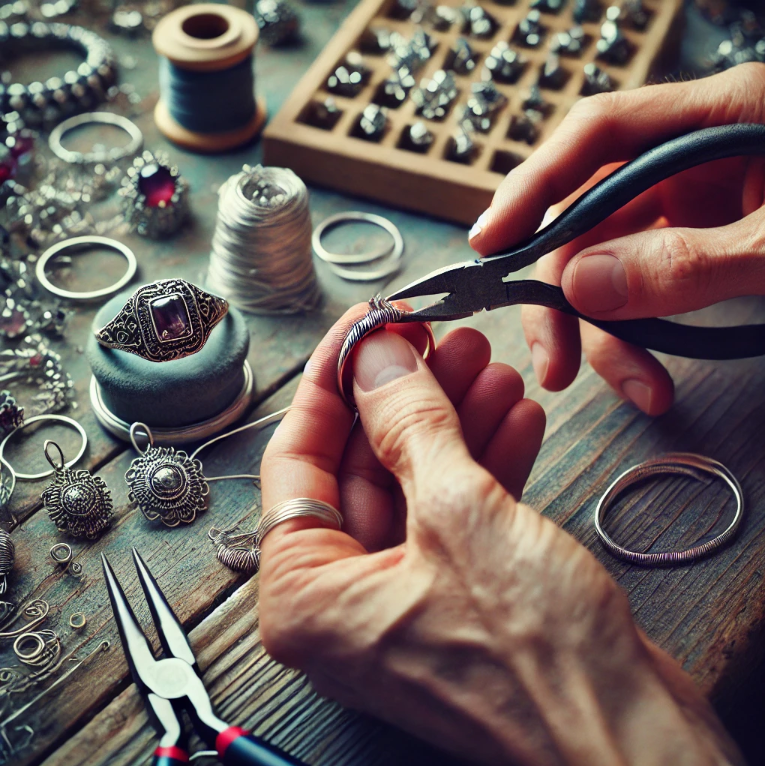
Silver wire for jewelry making is an ancient art that allows for endless creativity and personal expression. There are many ways to craft stunning jewelry pieces using silver wire, but it is one of the most versatile methods. A variety of DIY projects can be done at home with silver wire because of its versatility, durability, and elegance. It will provide you with easy-to-follow instructions and creative ideas that will help you make jewelry with silver wire, whether you’re a beginner or experienced jewelry maker.
Why Choose Silver Wire for Jewelry Making?
Silver wire is a popular choice among jewelry makers for several reasons:
- Aesthetic Appeal: Silver has a timeless, classic look that complements any outfit and occasion.
- Versatility: Silver wire comes in various gauges (thicknesses), making it suitable for different types of jewelry, from delicate rings to bold statement pieces.
- Workability: Silver is malleable and easy to shape, yet strong enough to hold its form, allowing for intricate designs.
- Availability: Silver wire is widely available and comes in different forms, such as sterling silver, fine silver, and silver-plated options.
Tools and Materials
Before diving into your DIY projects, ensure you have the following tools and materials:
- Silver Wire: Choose the appropriate gauge for your project. For beginners, a medium gauge (20-24) is recommended.
- Wire Cutters: Essential for cutting the wire to the desired length.
- Round-Nose Pliers: Useful for making loops and curves.
- Chain-Nose Pliers: Ideal for holding and bending wire.
- Flat-Nose Pliers: Great for flattening and straightening wire.
- Jewelry Hammer and Anvil: For hardening and shaping wire.
- Mandrel: A cylindrical tool for shaping rings and bracelets.
- Beads and Charms: Optional, for adding decorative elements to your jewelry.
- Polishing Cloth: To give your finished pieces a professional shine.
Project 1: Simple Wire Wrapped Ring
Materials Needed:
- 20-gauge silver wire (about 12 inches)
- Ring mandrel or a cylindrical object of similar size
- Wire cutters
- Round-nose pliers
- Chain-nose pliers
Instructions:
- Measure and Cut the Wire: Cut a 12-inch piece of 20-gauge silver wire.
- Shape the Base: Wrap the wire around the mandrel at the desired ring size, leaving equal lengths of wire on either side.
- Create the First Loop: Using round-nose pliers, make a small loop at one end of the wire.
- Wrap the Wire: Take the other end of the wire and wrap it around the base of the loop you just made, securing it in place.
- Form the Ring Band: Continue wrapping the wire around the mandrel until you reach the other end.
- Finish the Ring: Make a loop with the remaining wire and tuck the end under the wire wraps using chain-nose pliers. Trim any excess wire.
- Polish: Use a polishing cloth to smooth and shine your ring.
Project 2: Elegant Wire Wrapped Pendant
Materials Needed:
- 20-gauge silver wire (about 18 inches)
- 24-gauge silver wire (about 6 inches)
- A gemstone or bead
- Wire cutters
- Round-nose pliers
- Chain-nose pliers
Instructions:
- Cut the Wire: Cut an 18-inch piece of 20-gauge wire and a 6-inch piece of 24-gauge wire.
- Create the Base: Bend the 20-gauge wire in half and place the gemstone or bead in the center.
- Wrap the Stone: Wrap the wire around the stone, creating a secure setting. Use the 24-gauge wire to bind the base of the setting, adding stability.
- Form the Bail: Use round-nose pliers to create a loop at the top of the pendant for the chain to pass through.
- Decorate: Use the remaining wire to create decorative swirls or patterns around the gemstone.
- Secure and Trim: Tuck in any loose ends using chain-nose pliers and trim any excess wire.
- Polish: Finish by polishing the pendant with a polishing cloth.
Project 3: Stylish Wire Wrapped Bangle
Materials Needed:
- 18-gauge silver wire (about 24 inches)
- 26-gauge silver wire (about 12 inches)
- Wire cutters
- Round-nose pliers
- Chain-nose pliers
- Mandrel
Instructions:
- Cut the Wire: Cut a 24-inch piece of 18-gauge wire and a 12-inch piece of 26-gauge wire.
- Shape the Bangle: Wrap the 18-gauge wire around a mandrel to form a bangle shape, leaving a small gap at the ends.
- Create the Closure: Use round-nose pliers to make small loops at each end of the wire to form a clasp.
- Wrap the Bangle: Use the 26-gauge wire to wrap around the bangle, adding decorative patterns and securing the loops at the ends.
- Secure and Trim: Tuck in any loose ends with chain-nose pliers and trim any excess wire.
- Polish: Use a polishing cloth to shine your finished bangle.

Project 4: Delicate Wire Earrings
Materials Needed:
- 22-gauge silver wire (about 6 inches per earring)
- Beads or charms
- Wire cutters
- Round-nose pliers
- Chain-nose pliers
- Earring hooks
Instructions:
- Cut the Wire: Cut two pieces of 22-gauge wire, each about 6 inches long.
- Create the Frame: Use round-nose pliers to form a small loop at one end of each wire.
- Add Beads or Charms: Slide beads or charms onto the wire, arranging them as desired.
- Form the Hook: Bend the wire at the top to form a hook that will attach to the earring hook.
- Secure the Design: Wrap the remaining wire around the base of the hook to secure the beads or charms in place.
- Attach to Earring Hooks: Open the loop on the earring hook, attach your wire design, and close the loop securely.
- Polish: Use a polishing cloth to finish your earrings.
Project 5: Charming Wire Bracelet
Materials Needed:
- 20-gauge silver wire (about 18 inches)
- 24-gauge silver wire (about 12 inches)
- Charms or small beads
- Wire cutters
- Round-nose pliers
- Chain-nose pliers
- Clasp
Instructions:
- Cut the Wire: Cut an 18-inch piece of 20-gauge wire and a 12-inch piece of 24-gauge wire.
- Create the Base: Form a circle with the 20-gauge wire, leaving a small gap at the ends.
- Attach the Clasp: Use round-nose pliers to create loops at each end of the wire and attach the clasp.
- Add Charms or Beads: Use the 24-gauge wire to attach charms or beads along the bracelet, wrapping the wire securely around the base.
- Secure and Trim: Tuck in any loose ends with chain-nose pliers and trim any excess wire.
- Polish: Use a polishing cloth to finish your bracelet.
Tips for Working with Silver Wire
- Practice Makes Perfect: Start with simple designs and gradually move on to more complex projects as you gain confidence and skill.
- Be Patient: Take your time to ensure that each bend, loop, and wrap is precise and secure.
- Keep Your Tools Handy: Having the right tools within reach will make the process smoother and more enjoyable.
- Experiment with Gauges: Different gauges of wire can create varying effects, so don’t be afraid to try different thicknesses.
- Use Quality Materials: Investing in good quality silver wire and tools will result in better-looking and longer-lasting jewelry pieces.
Silver wire for jewelry making is a rewarding and creative hobby that allows you to produce beautiful, personalized accessories. You’ll develop the confidence and skills to create more intricate and unique designs by starting with these easy DIY projects. The possibilities are endless when it comes to making jewelry out of silver wire, whether you’re creating it for yourself, as a gift, or for the purpose of selling it. Hence, gather your tools, unleash your creativity, and begin crafting your own amazing silver wire jewelry today!
Thank you for taking the time to read our blog. We hope that the information above helped you in the search for the right product for your project.
If you are interesting in learning more about wires, check out our blog about Sterling Silver Wire or take a look at our range of Stainless Steel Wires.
Nichrome Wire Safety: Top Tips for Working Safely
Best Wire for Electronics Projects
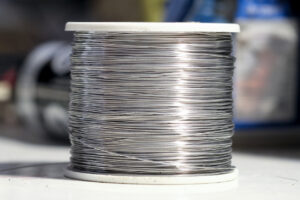
Is Ni80 Wire Suitable for DIY Heating Elements
Wire Grades Explained
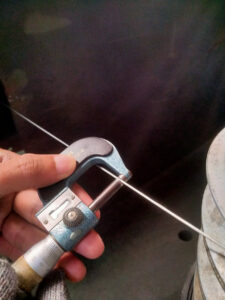
How Wire Diameter Affects Strength and Flexibility
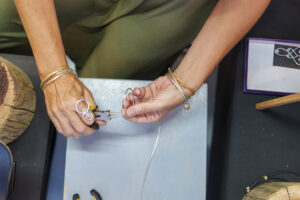
How to Cut and Shape Wire for Custom Applications

Can Wire Be Used in 3D Printing?

How Wire Composition Affects Conductivity
