
Crafting wire has become a popular medium for artists and crafters alike, offering versatility, durability, and endless creative possibilities. The art of wire crafting gives you the opportunity to create beautiful, intricate designs, whether you are a beginner or an experienced artisan. To help you make your own wire art, this blog will guide you through the basics of crafting wire, including tools, techniques, and step-by-step instructions. Upon completing this article, you will be prepared to begin your own wire crafting journey.
Understanding Crafting Wire
Before diving into tutorials, it’s important to understand what crafting wire is and the different types available. Crafting wire is a flexible, malleable material that can be shaped into various forms. It comes in various materials, such as copper, aluminum, stainless steel, and silver-plated wire, each offering unique properties suited for different projects.
Types of Crafting Wire
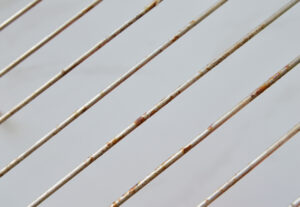
- Copper Wire: Known for its flexibility and conductivity, copper wire is commonly used in jewelry making and decorative arts. It’s available in various gauges and can be easily colored or patinated.
- Aluminum Wire: Lightweight and easy to bend, aluminum wire is ideal for larger projects, such as sculptures and home decor. It’s also resistant to rust, making it suitable for outdoor use.
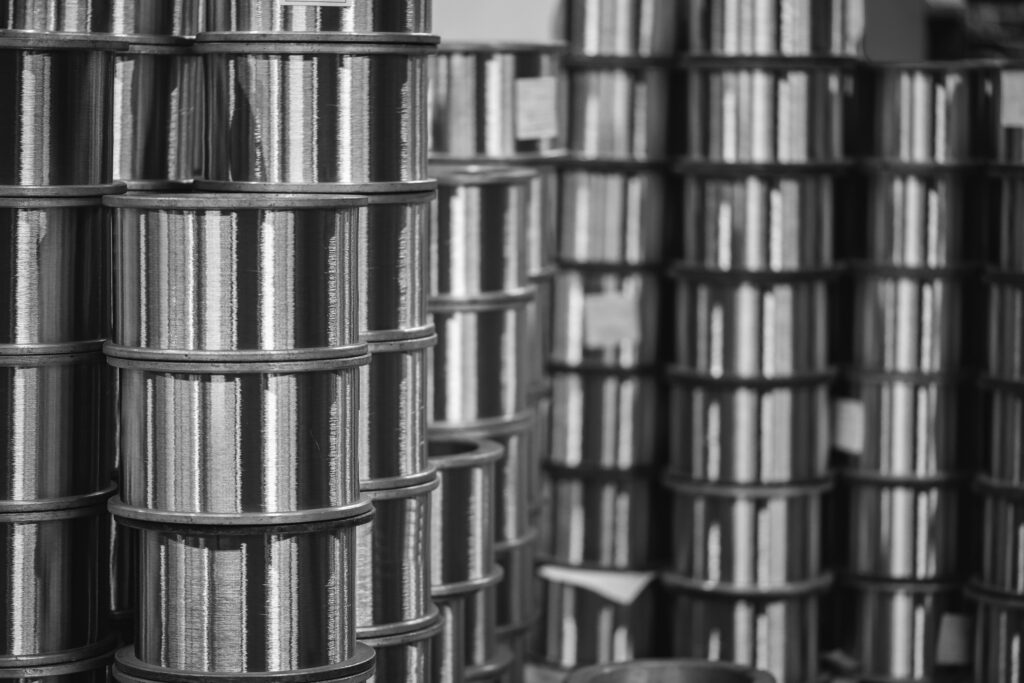
- Stainless Steel Wire: Strong and durable, stainless steel wire is perfect for projects that require a sturdy structure. It’s more challenging to bend but provides excellent longevity.
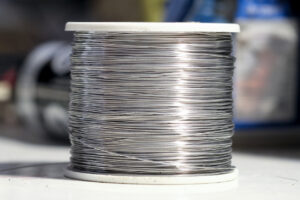
- Silver-Plated Wire: Offering the look of precious metal at a lower cost, silver-plated wire is popular in jewelry making. It combines beauty with flexibility and can be used for intricate designs.
Wire Gauges
The thickness of crafting wire is measured in gauges, with lower numbers indicating thicker wire. Common gauges for crafting wire range from 18 to 30, with 18 being thick and sturdy, suitable for structural elements, and 30 being thin and delicate, ideal for fine details.
Essential Tools for Wire Crafting
To get started with wire crafting, you’ll need a few essential tools. Investing in good quality tools will make your crafting experience smoother and more enjoyable.
- Wire Cutters: Essential for cutting wire to the desired length. Ensure they are sharp and capable of cutting through the thickness of your chosen wire.
- Round-Nose Pliers: Used for making loops and curves in the wire. The rounded tips allow for precise bending without damaging the wire.
- Chain-Nose Pliers: Ideal for gripping, bending, and manipulating wire. The flat inner surfaces provide a firm hold.
- Flat-Nose Pliers: Used for straightening and flattening wire, as well as holding components in place.
- Nylon-Jaw Pliers: These pliers have soft jaws that won’t scratch or damage the wire, perfect for straightening and smoothing.
- Mandrels: Cylindrical tools used to shape wire into consistent loops and rings. They come in various sizes to match different project requirements.
- Files: Used to smooth out rough edges and burrs on cut wire ends.
- Hammer and Anvil: For flattening and hardening wire, adding texture and dimension to your designs.
Basic Techniques in Wire Crafting
Mastering a few basic techniques will provide a solid foundation for more complex wire art projects.
Making a Loop
- Cut a piece of wire to your desired length.
- Using round-nose pliers, grasp the end of the wire.
- Rotate the pliers to form a loop, continuing until the loop is closed.
- Adjust the loop as needed with chain-nose pliers.
Creating a Spiral
- Cut a piece of wire and make a small loop at one end.
- Hold the loop with round-nose pliers and begin wrapping the wire around itself, forming a spiral.
- Continue wrapping until the spiral reaches the desired size.
- Flatten the spiral with flat-nose pliers if needed.
Wire Wrapping
- Cut a piece of wire and position it around a bead or component.
- Hold the wire in place with chain-nose pliers.
- Wrap the wire tightly around the bead or component, creating a secure setting.
- Trim any excess wire and tuck the end in with chain-nose pliers.
Step-by-Step Tutorials
Now that you have a grasp of the basics, let’s explore some step-by-step tutorials to create your own wire art.
Tutorial 1: Wire Wrapped Pendant
Materials Needed:
- 20-gauge copper wire
- 24-gauge copper wire
- Gemstone or glass bead
- Round-nose pliers
- Chain-nose pliers
- Wire cutters
Instructions:
- Cut a 20 cm length of 20-gauge wire.
- Create a small loop at one end using round-nose pliers.
- Thread the bead onto the wire and position it near the loop.
- Bend the wire to form a tight frame around the bead.
- Cut a 30 cm length of 24-gauge wire and begin wrapping it around the frame, securing the bead in place.
- Continue wrapping until the entire frame is covered, adding decorative loops and swirls as desired.
- Create a bail at the top for attaching a chain or cord.
- Trim any excess wire and smooth out rough edges with a file.
Tutorial 2: Wire Flower Sculpture
Materials Needed:
- 18-gauge aluminum wire
- 24-gauge copper wire
- Round-nose pliers
- Chain-nose pliers
- Wire cutters
Instructions:
- Cut five 15 cm lengths of 18-gauge wire.
- Form each length into a petal shape, leaving a small loop at the base.
- Arrange the petals in a flower shape, overlapping the loops at the base.
- Secure the petals together by wrapping 24-gauge wire around the loops.
- Create a spiral from a separate piece of wire and attach it to the center of the flower.
- Bend and shape the petals to add dimension and realism.
- Add leaves or additional decorations as desired using the same wrapping technique.
- Attach the flower to a stem or base for display.
Tutorial 3: Wire Wrapped Ring
Materials Needed:
- 20-gauge silver-plated wire
- 24-gauge silver-plated wire
- Mandrel or ring-sizing tool
- Round-nose pliers
- Chain-nose pliers
- Wire cutters
Instructions:
- Cut a 20 cm length of 20-gauge wire.
- Wrap the wire around the mandrel to form the base of the ring, overlapping the ends slightly.
- Cut a 30 cm length of 24-gauge wire and wrap it around the base, securing the ends in place.
- Continue wrapping the 24-gauge wire around the base, adding decorative loops and swirls as desired.
- Create a small loop at the top of the ring for attaching a gemstone or bead.
- Thread a bead onto the loop and secure it in place with additional wraps.
- Trim any excess wire and smooth out rough edges with a file.
- Adjust the size of the ring by carefully bending it on the mandrel.
Advanced Techniques
As you become more comfortable with basic wire crafting, you can explore advanced techniques to take your creations to the next level.
Weaving
Weaving involves intertwining multiple wires to create intricate patterns and textures. This technique is often used in jewelry making to add complexity and visual interest.
Instructions:
- Cut three equal lengths of 24-gauge wire.
- Secure the wires together at one end with a small loop or twist.
- Begin weaving the wires by passing the outer wires over and under the center wire in a consistent pattern.
- Continue weaving until you reach the desired length.
- Secure the ends with small loops or twists.
Coiling
Coiling involves wrapping wire around a central core to create a textured, three-dimensional effect. This technique is great for adding detail and dimension to your projects.
Instructions:
- Cut a length of 20-gauge wire for the core.
- Cut a longer length of 24-gauge wire for the coil.
- Begin wrapping the 24-gauge wire tightly around the 20-gauge wire, creating a coil.
- Continue wrapping until the entire length of the core wire is covered.
- Secure the ends of the coil with small loops or twists.
Soldering
Soldering is a technique used to permanently join pieces of wire together using heat and solder. This technique requires specialised equipment and safety precautions but allows for strong, durable connections.
Instructions:
- Arrange the wire pieces to be joined in the desired configuration.
- Apply flux to the joints to ensure a clean, strong bond.
- Heat the joints with a soldering iron or torch until the solder melts and flows into the joints.
- Allow the solder to cool and harden, securing the wire pieces together.
- Clean any excess flux and polish the joints for a smooth finish.
Inspiration and Ideas
Now that you’ve mastered the basics and explored some advanced techniques, here are a few ideas to inspire your next wire crafting project:
Wire Trees
Create intricate wire trees with twisted trunks and delicate branches. Add beads or gemstones as leaves for a touch of color and sparkle. These trees make beautiful decorative pieces for your home or thoughtful gifts for loved ones.
Wire Word Art
Form inspiring words or phrases using wire and mount them on a wooden or canvas background. Wire word art can add a personal touch to your home decor and make great gifts for special occasions.
Wire Animal Sculptures
Craft lifelike animal sculptures using wire, bending and shaping the wire to capture the essence of your chosen creature. These sculptures can range from simple outlines to detailed, three-dimensional forms.
Wire and Bead Jewelry
Combine wire with beads, gemstones, and other decorative elements to create stunning jewelry pieces. Experiment with different wire gauges and wrapping techniques to achieve unique designs.
Crafting wire is a versatile and accessible medium that allows for endless creativity and self-expression. Mastering the wire art techniques outlined in this blog will help you bring your wire art visions to life, whether you are making jewelry, sculptures, or decorative art. Don’t be afraid to experiment with new ideas and techniques; always start with the basics, practice regularly, and don’t be afraid to start with the basics. Your unique style and skill will be showcased through your beautiful, intricate wire art if you have time and patience.
Happy crafting!
Thank you for taking the time to read our blog. We hope that the information above helped you in the search for the right product for your project.
If you are interesting in learning more about wires, check out our blog on Aluminium Craft Wires or take a look at our range of Stainless Steel Wires.

Nichrome Wire Safety: Top Tips for Working Safely
Best Wire for Electronics Projects
Is Ni80 Wire Suitable for DIY Heating Elements

Wire Grades Explained

How Wire Diameter Affects Strength and Flexibility
How to Cut and Shape Wire for Custom Applications

Can Wire Be Used in 3D Printing?

How Wire Composition Affects Conductivity